
We have started with our hall bathroom, which is mostly used by our kids and guests. I set a budget of $700, and my husband thought I was a bit nuts to think we could do it for so little.
But we did!
I also attempted to do something a little different this time. I’m getting ahead of myself though.
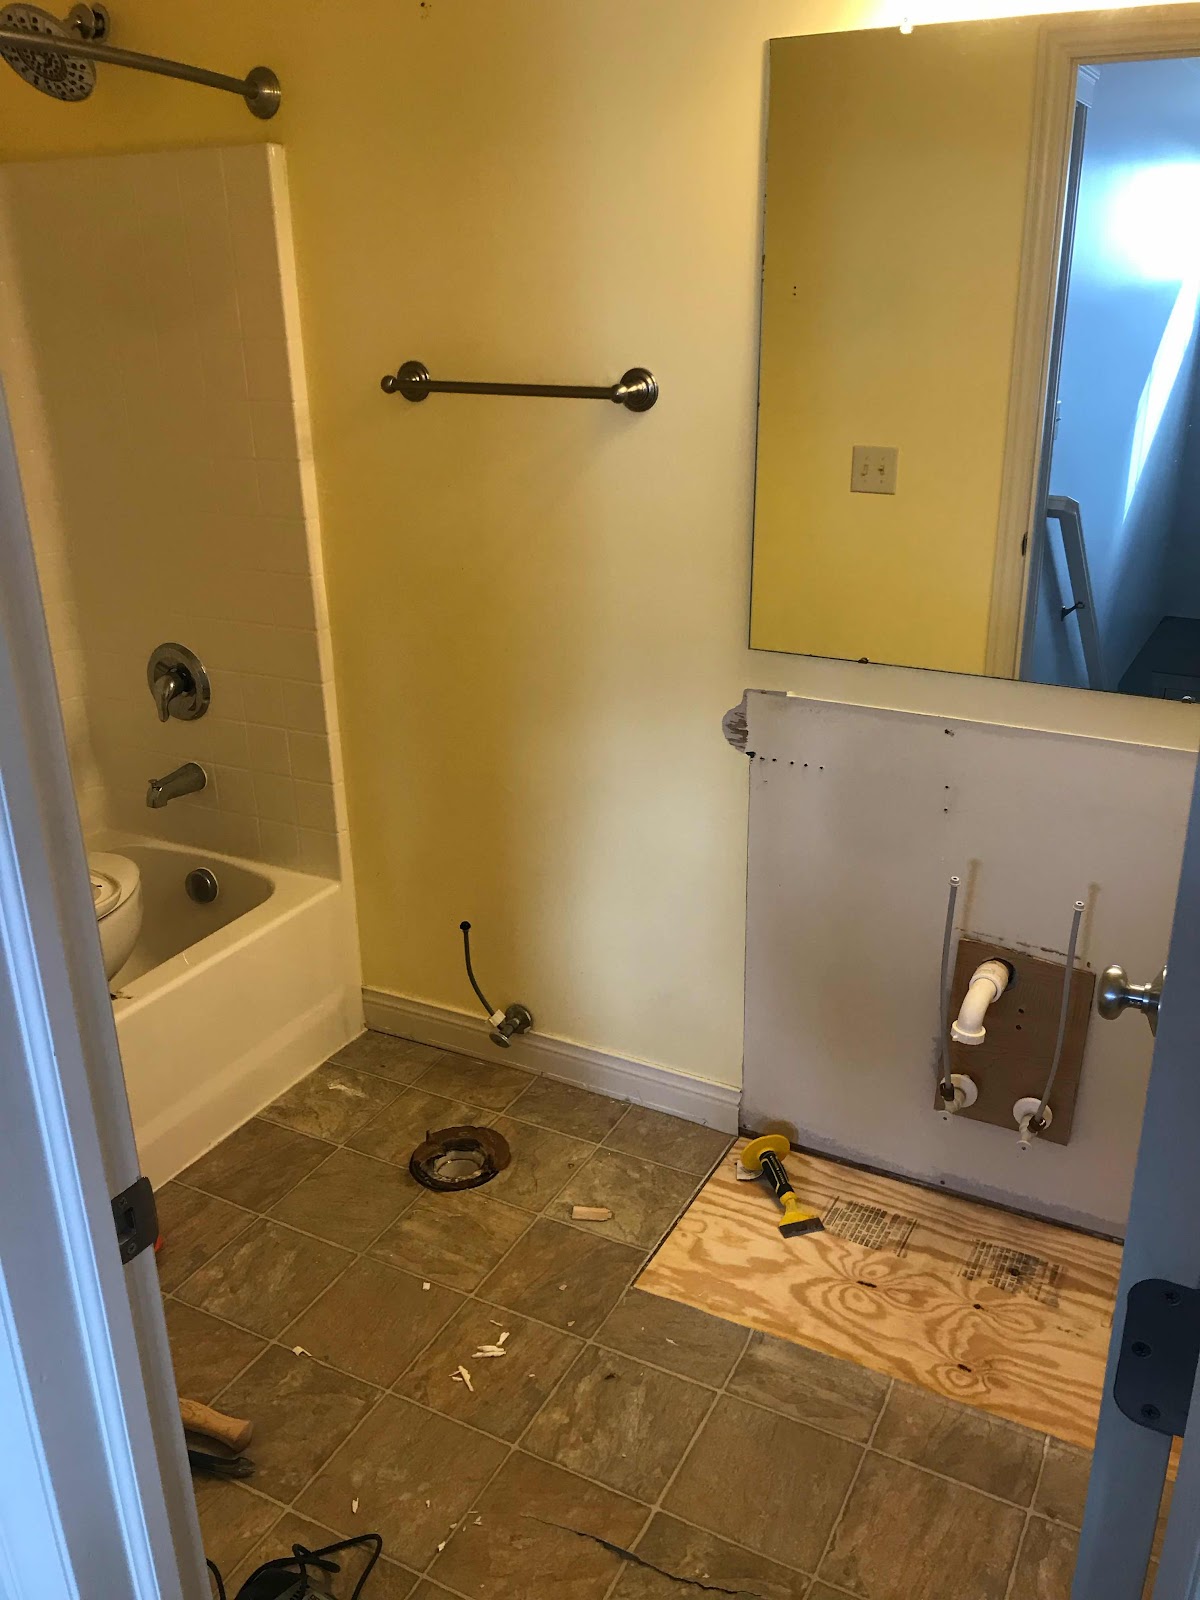
Here is the before:


We decided to keep the shower as-is, since it is a plain white insert in good condition. Since we were hoping to keep the update less than $700, we needed to keep things simple.

One simple change you can make to instantly update your shower is replace the shower head! You can get nice new shower heads for as low as $20, and they require no skill to install. I had purchased 2 new shower heads when we moved in, and my husband accidentally installed the wrong one in this bathroom. So my kids ended up with the spa, rain-shower one in this bathroom!
First came demolition, which always takes longer than you think it will. Luckily our kids’ play area is right outside this bathroom, so they played while I kept them out of the bathroom and helped my husband, who did most of the demolition.
One thing I do to make sure I can renovate a room on such a tight budget is stockpile months ahead of time. I am always on the lookout for a good deal on something I like for a room, and once I’ve found all the pieces for the right price, that’s when we start the project.
The only thing I paid full price for in this bathroom was the flooring. In past renovations we have tiled the bathroom floor and we’ve also installed vinyl planks. I liked the vinyl planks SO much more (softer and warmer under foot), and it takes so much less time and labor, so we decided to use it again.
This time I purchased a vinyl tile from Wayfair in a dark gray. I was surprised that it was much more blue-toned than it showed on the website, and I worried it wouldn’t match the vanity I had purchased. We decided to use it anyway, but I would have preferred it to be the color displayed on the website.

Turns out I’m not the only one who complained about the color, because most people reviewed the material well and took a star off their review for the color.
This flooring went in SO quickly. Literally just a couple hours.

The next thing to do was repair the drywall and paint. I’ve tried renovating and painting last, but it created so much dust and was hard to get behind all the fixtures.
Because of the blue tones in the floor and the wood tones in the vanity, I decided to paint this room white. The old yellow paint made this room seem so dark, so I was looking forward to brightening it up.
We chose Benjamin Moore Simply White. It really is a perfect white, not too stark and not too yellow.
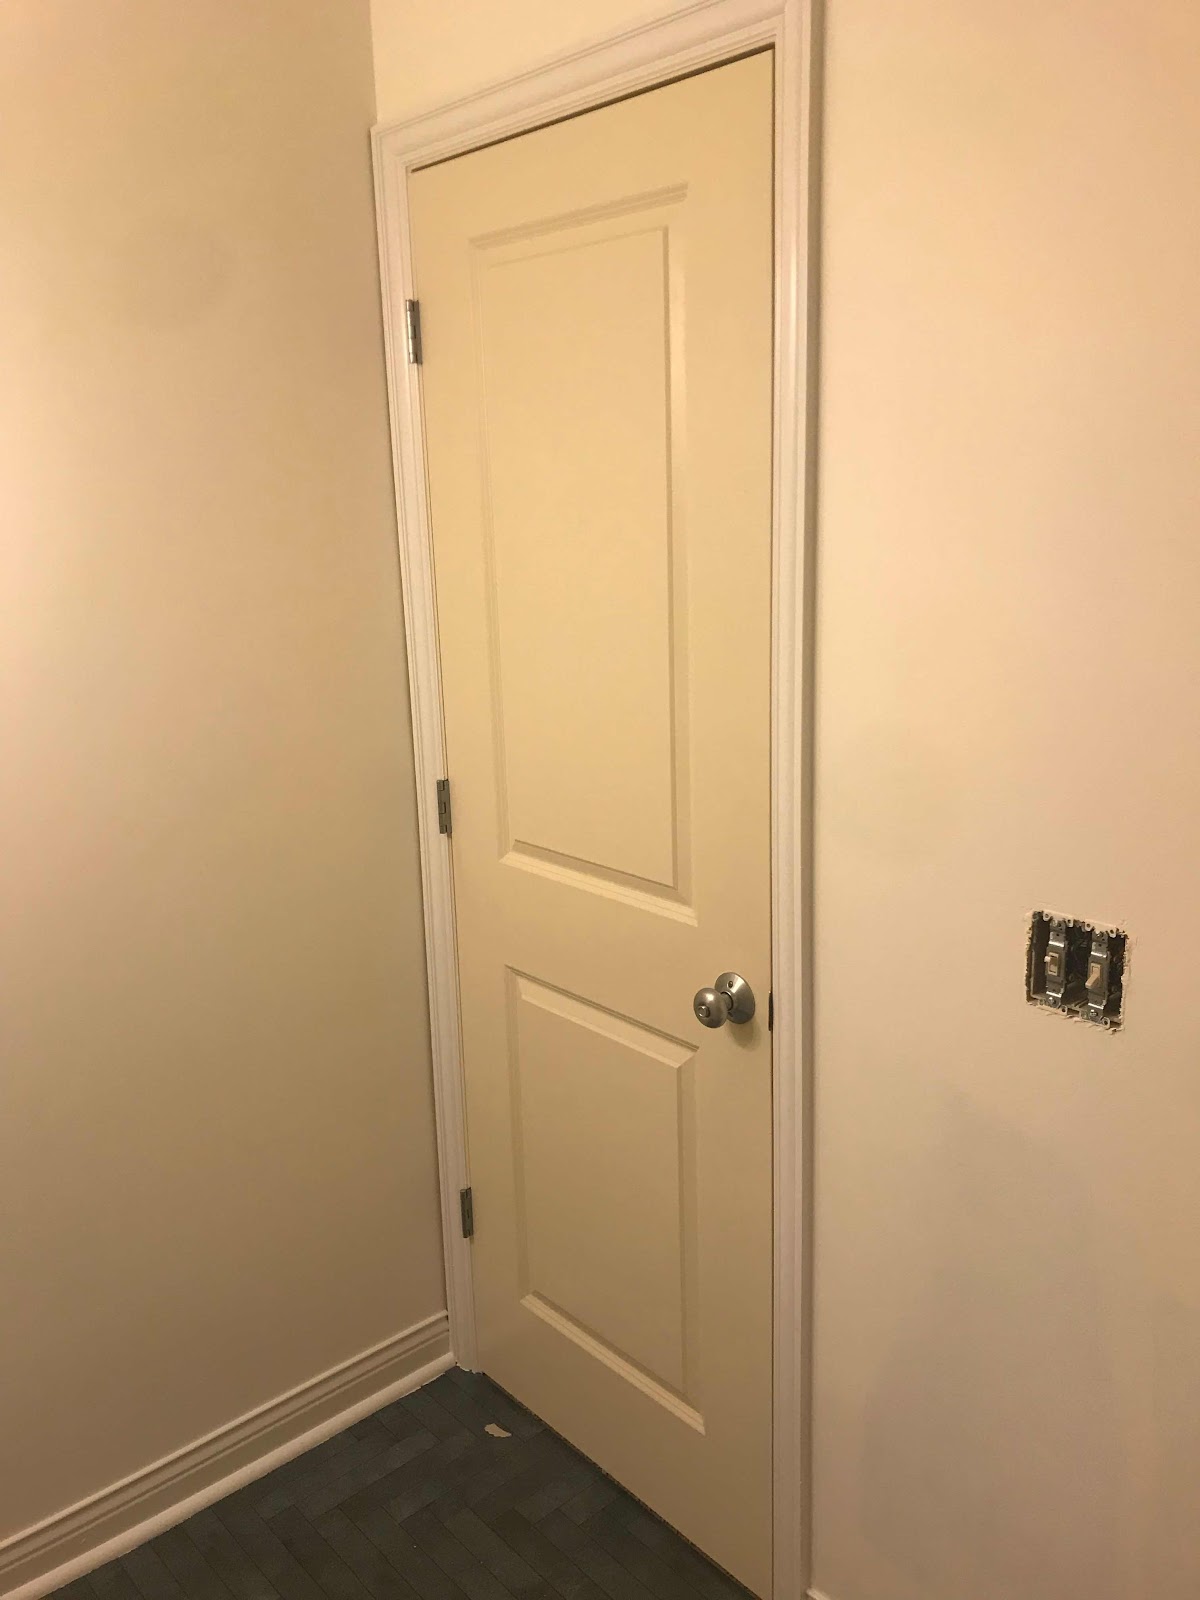
I also decided to paint the trim, which is a yellow-y white in the whole house. It was a shock to see the difference in the old trim color (the door color in this photo) and the new trim color (Benjamin Moore Decorator’s White). Looks like I have a whole
house of trim to paint now! I used Benjamin Moore Advanced paint for the trim and really liked using it. I also like the Behr version of this type of paint (urethane alkyd semi gloss enamel).

Next my husband installed the new vanity, which I purchased new on Facebook marketplace for $125. It is not the most amazing quality vanity, but it is definitely an improvement over what was there. It is also ever so slightly taller and 3 inches thinner, making the bathroom appear slightly larger due to more floor space. We also reused the toilet, which was in fine condition.
I am picky about faucets. I’ve learned the hard way that brand matters with faucets, so I only really purchase Kohler or Delta faucets now. I purchased the Delta faucet for this bathroom for $39 new on eBay.
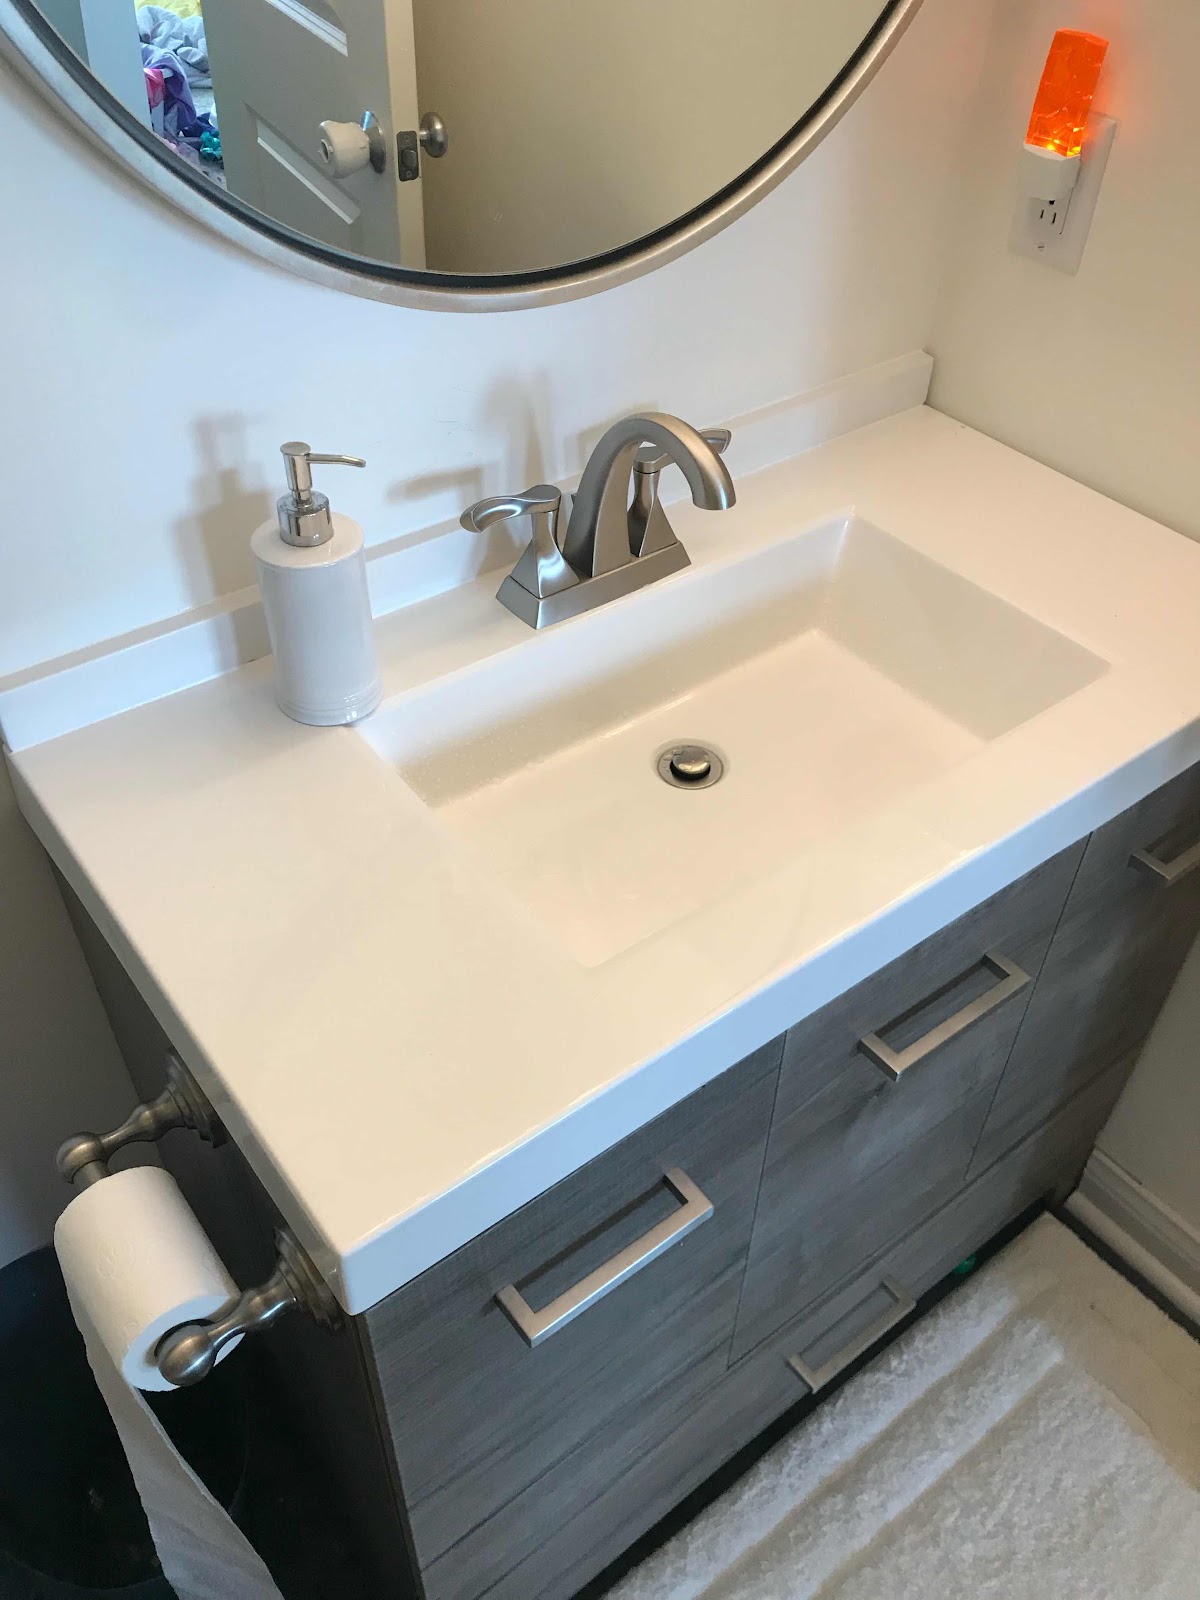
I also purchase new brushed nickel handles for the vanity (the ones it came with were chrome). To save money we kept the same toilet paper holder and towel bars. It would have been nice to replace them, but they were fine and the metals matched, so we kept them.
The light fixture was a brand new, in the box purchase from a local online auction for $13. It wasn’t my #1 choice for this room, but it actually turned out great in person, and the price couldn’t be beat.

I really wanted a round mirror for this space, but finding one the right size and color for less than several hundred dollars proved to be a challenge. I finally found this one on amazon warehouse deals for $90. It has a small scratch on the frame that is barely noticeable.
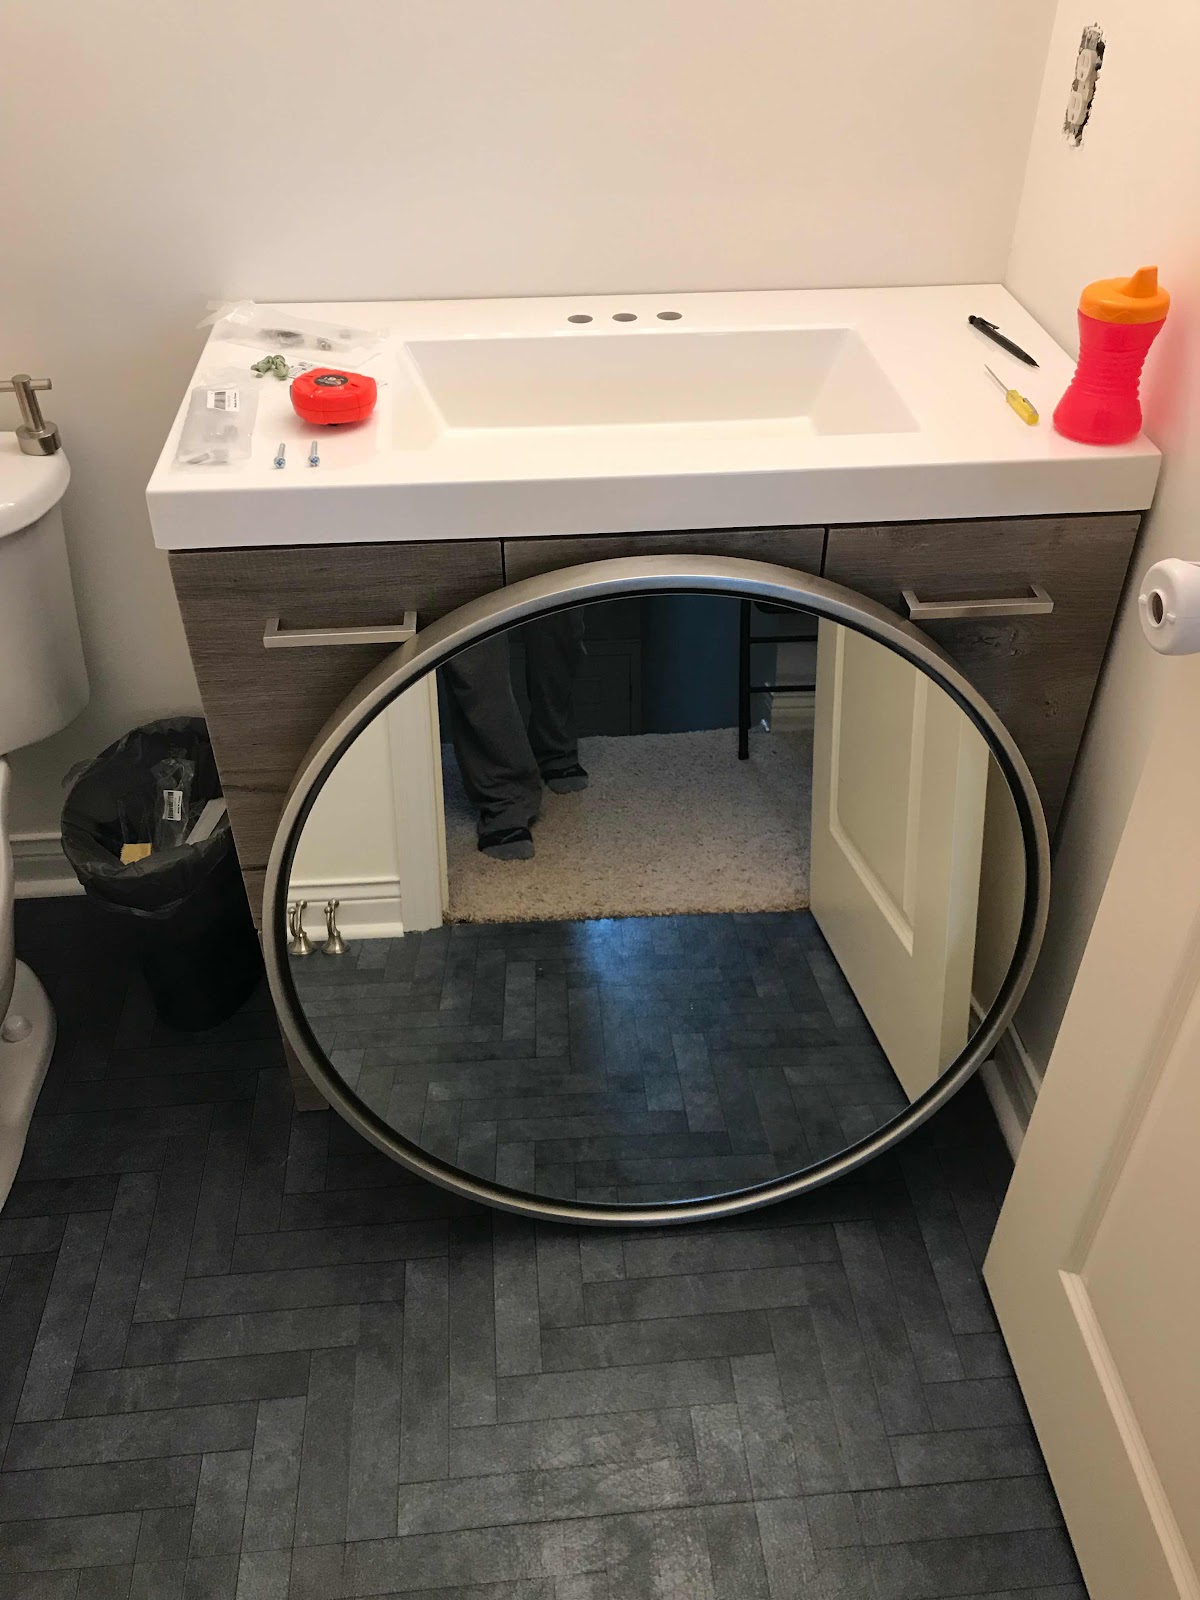
(And clearly sippie cups are important renovation tools)
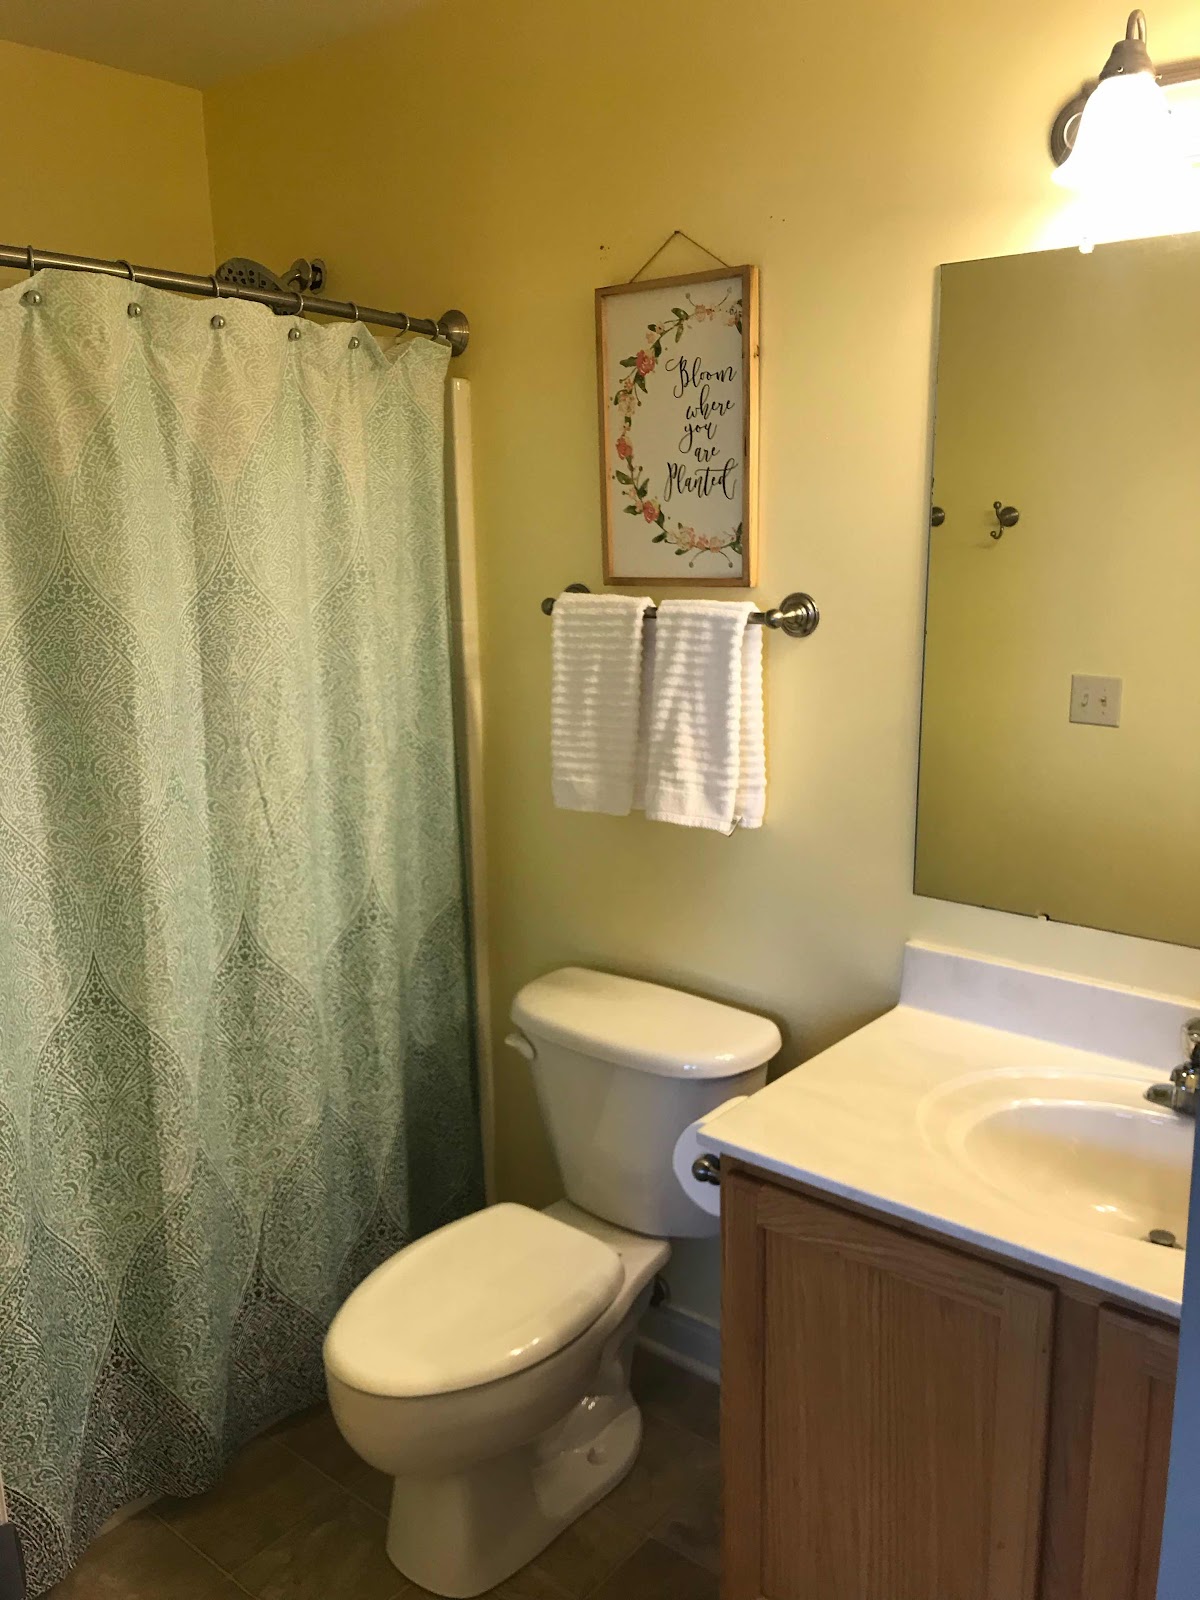
The only other thing we purchased was some artwork from Etsy to add a little color. This is how it turned out in the end:

And as a reminder, this was before:

Before:


You might be wondering where the $700 went. It’s funny how the little things add up. Just the paint cost about $100 total. The vanity was $125, mirror $90, flooring $150, faucet $39. The rest was odds and ends like caulk, sand paper, hardware, lumber to level the floor, etc.
You may also be wondering how on earth we got all this done with 4 children under 5. It isn’t easy, but I’ve learned to stop waiting for large chunks of time. My husband and I finish projects like these in 15-30 minute spurts. The painting took the longest and I did it at night after the kids went to bed for two nights. I glued on the backsplash and caulked it in 10 minutes while my kids finished lunch one day. My husband came from work and spent 20 minutes hanging the light fixture before jumping in with what we were doing. It took a month total of snippets of time here and there to be 100% complete.
We are currently in the process of renovating our master bathroom. We are a bit more focused on the style of that room, and the budget is significantly bigger (we are trying for $1500).
More to come!
Wow, definitely filing this away for ideas. I'm still at home and trying to figure out a way to redo my room. I'd grown up watching HGTV and always lazily assumed everything had to happen at once until I noticed other bloggers pointing out that these changes happened over months. So, I want to work on budgeting that, but then I also have a bit of luxury taste that I need to fight against. I love all the different ways you found items to renovated. Looks amazing, lighting and paint always make a huge difference in and of themselves too.
ReplyDeleteI love it! I’m finally learning to stop waiting for the “perfect time” and just jump in with kids!
ReplyDeleteThere is never a convenient time to
Deleterip your house apart with kids!