Thursday, May 21, 2020

Big moves and Updates

Hello friends! I hope you are all doing well and enjoying this May with your family. Somehow this whole stay-at-home business feels so much easier and better when the weather is good.

As I sit here with my laptop on the sofa typing right now, my twins, who are both 3.5 years old now,  are playing with their twin baby dolls next to me, my dog is squeaking her favorite new toy at my feet, and birds are singing in the trees outside the window behind me.

So much has happened since I last wrote, to the point where I have sat down several times to write updates, and became overwhelmed with the amount and time it would take!

Here is a quick update, list-style:
-My husband got a new job! After 10 years at his old job and lots and lots of prayer for direction, he got a new job at the end of April in the Grand Rapids, Michigan area. It was hard leaving so quickly and without very proper goodbyes due to the virus, but we truly felt God’s hand in this change, which allowed us to have so much peace.

-Our old house in Ohio sold in 45 minutes, despite the pandemic, and it could only have been an answer from the Lord.


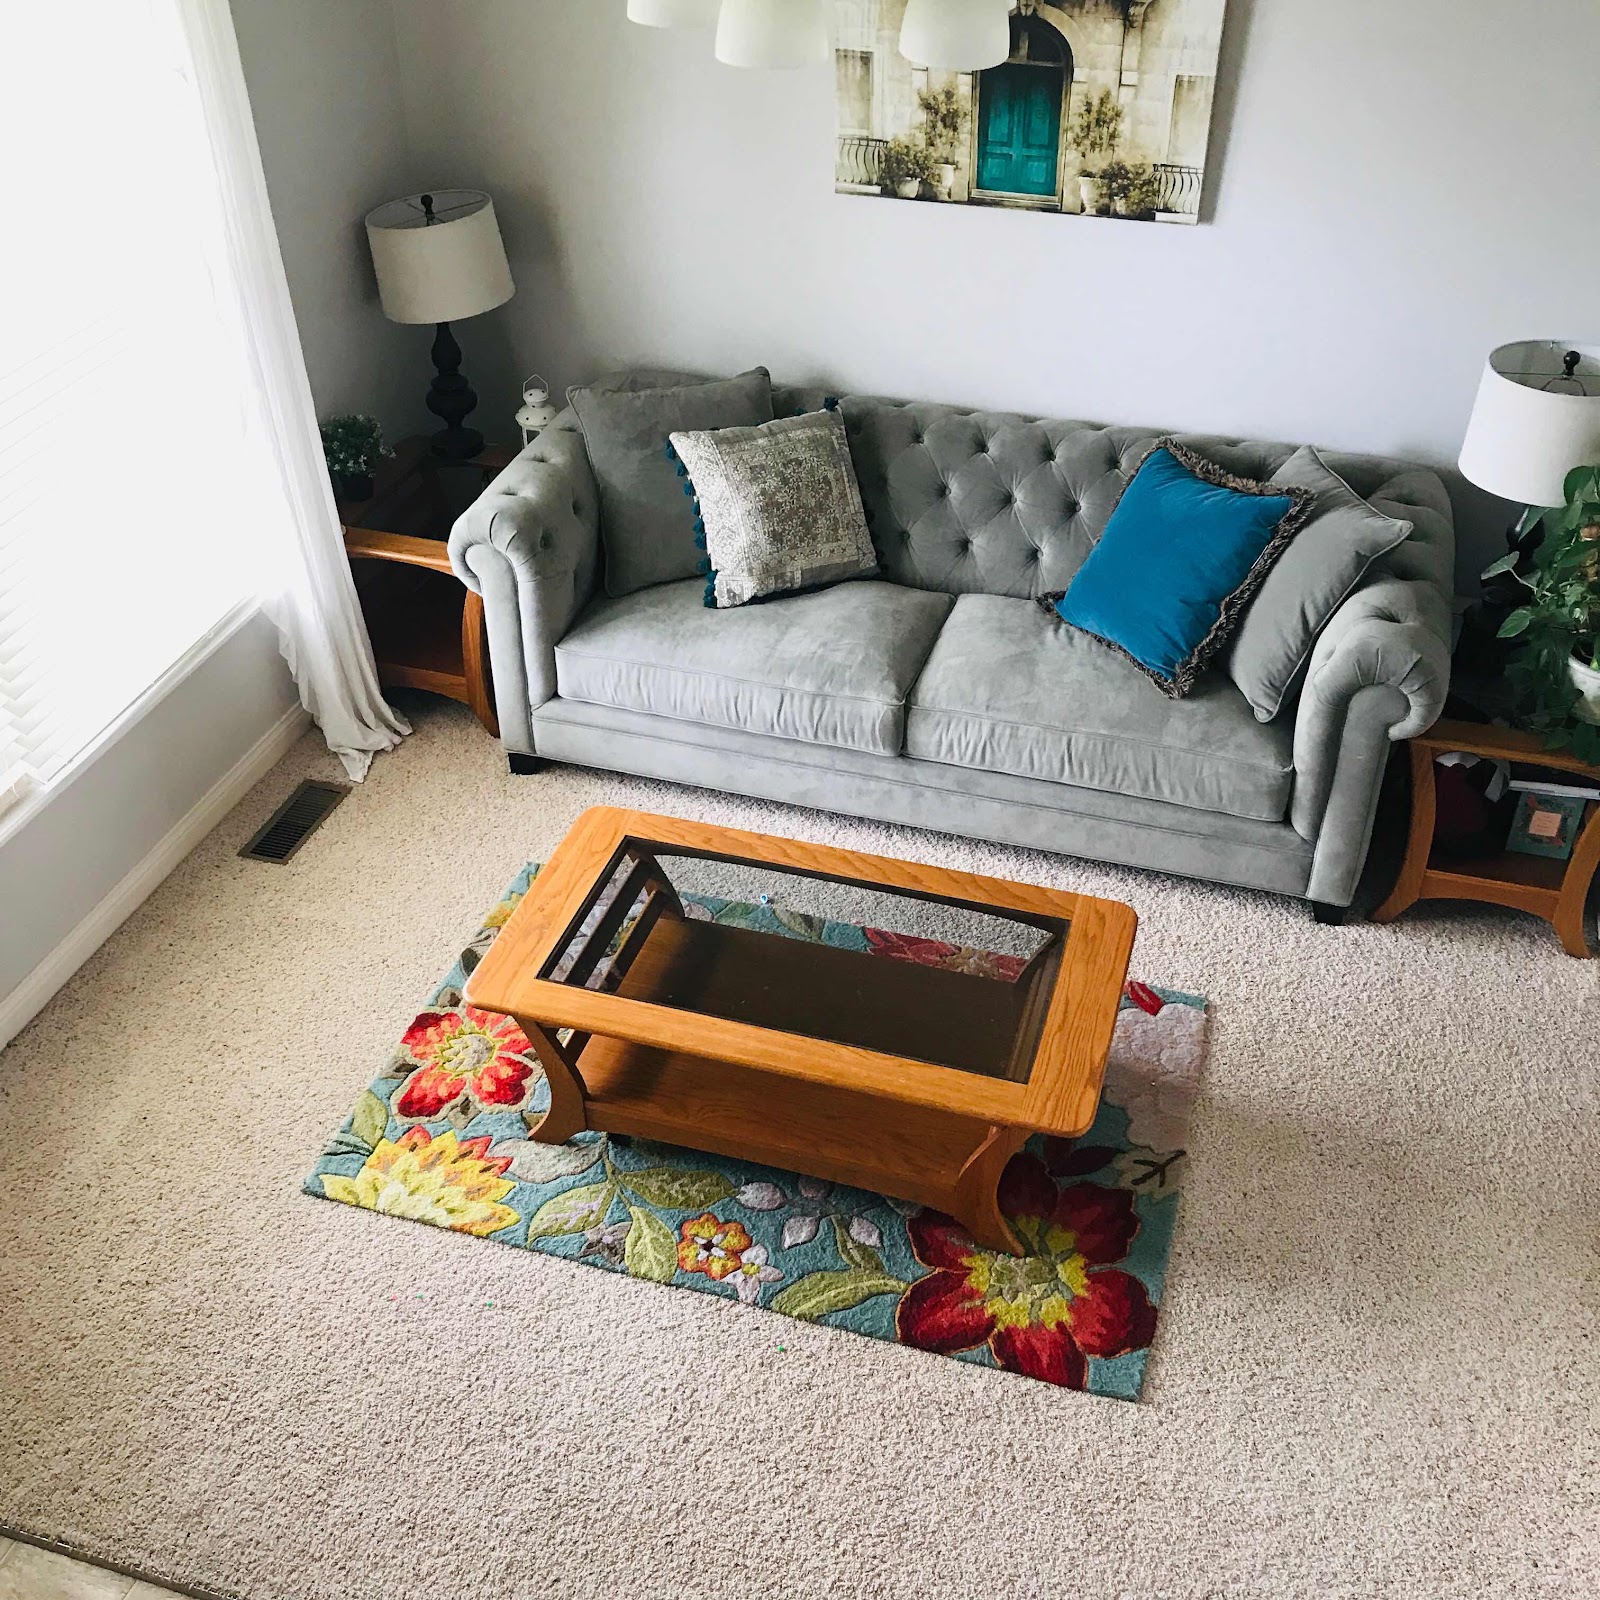
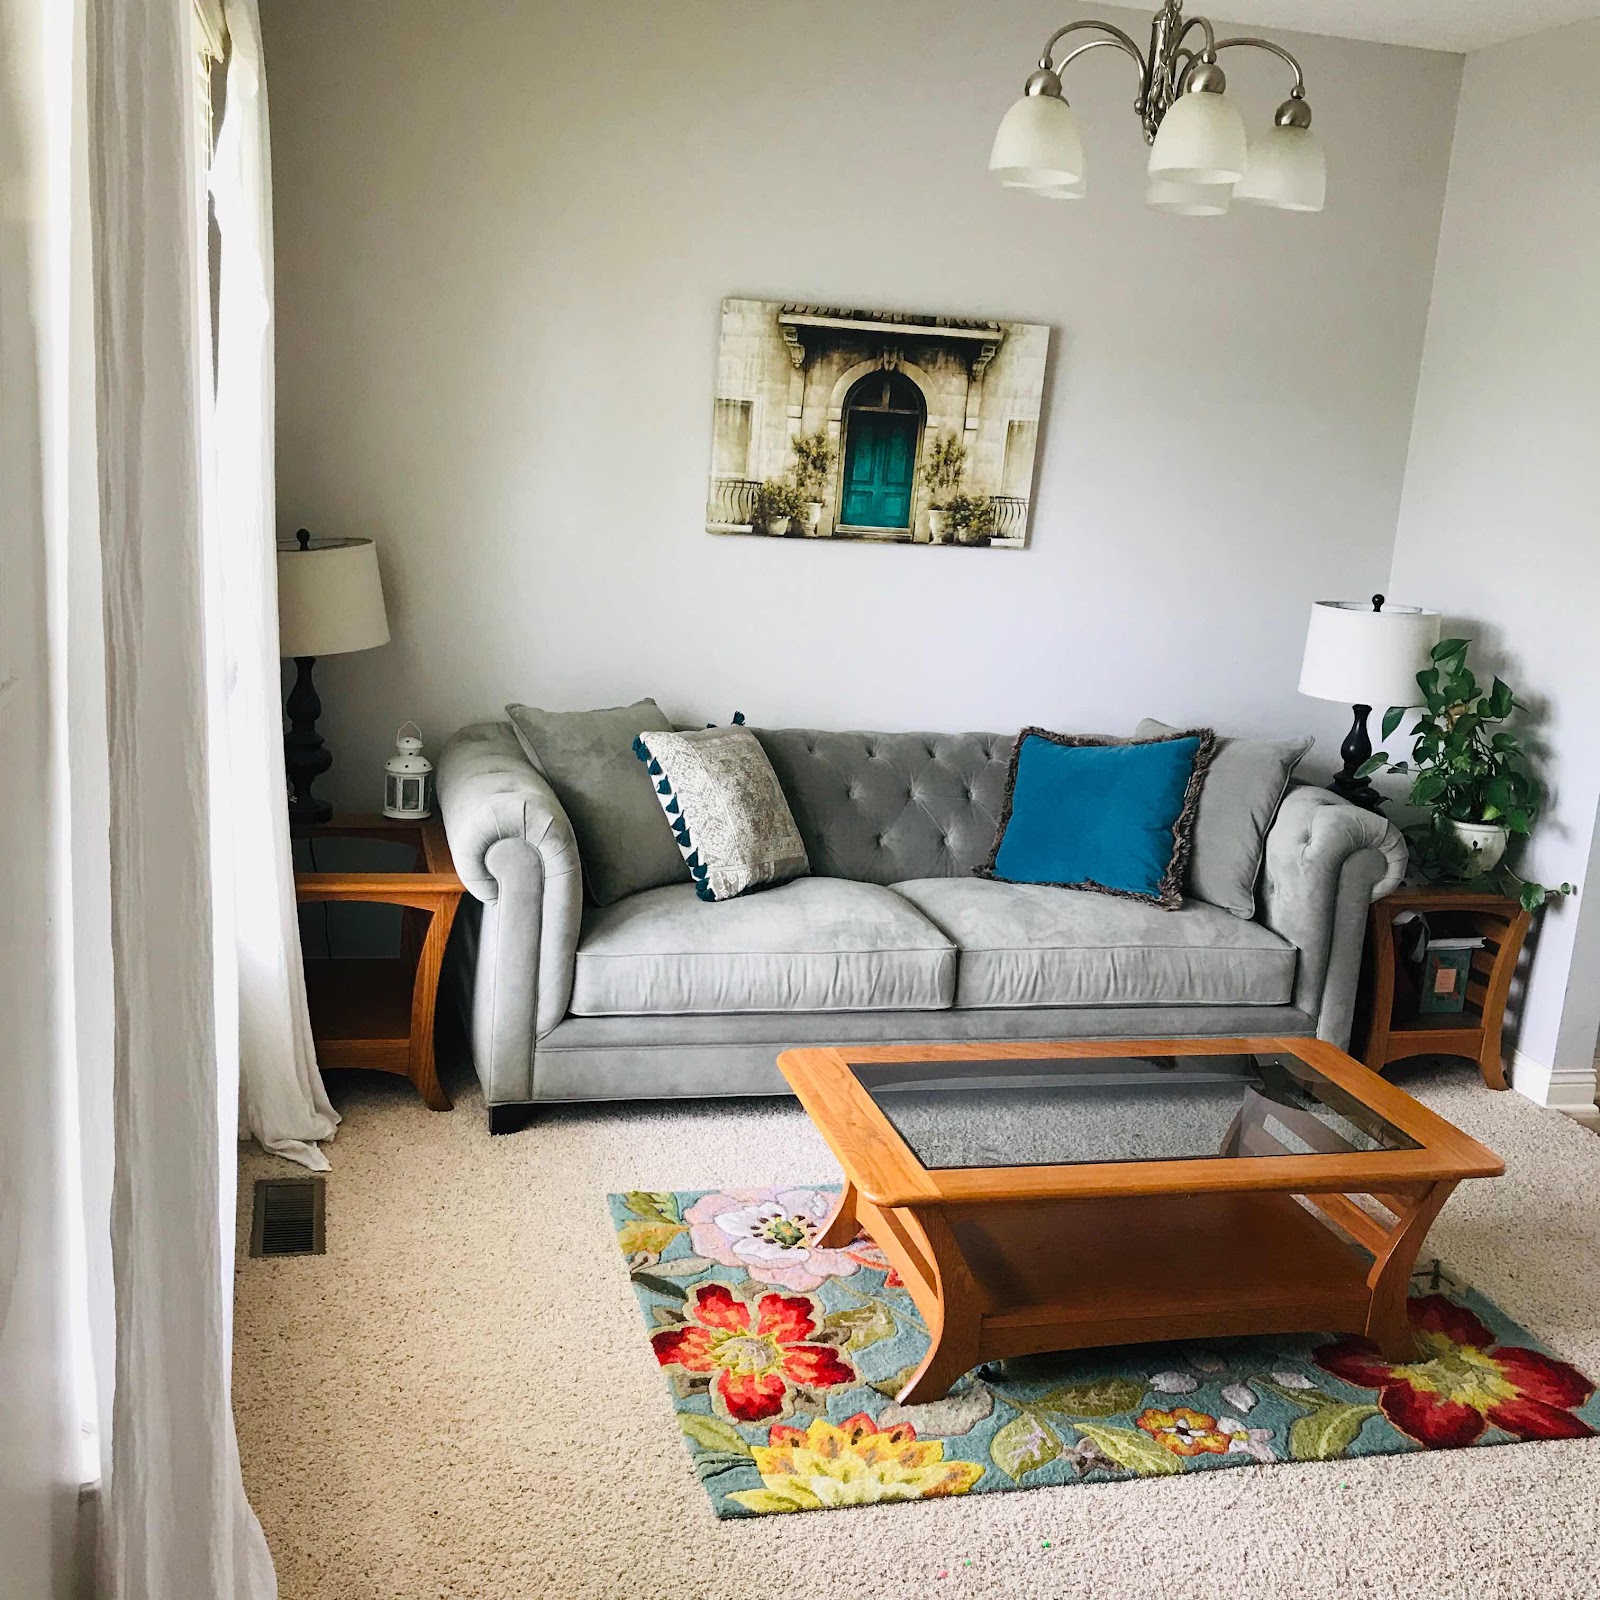
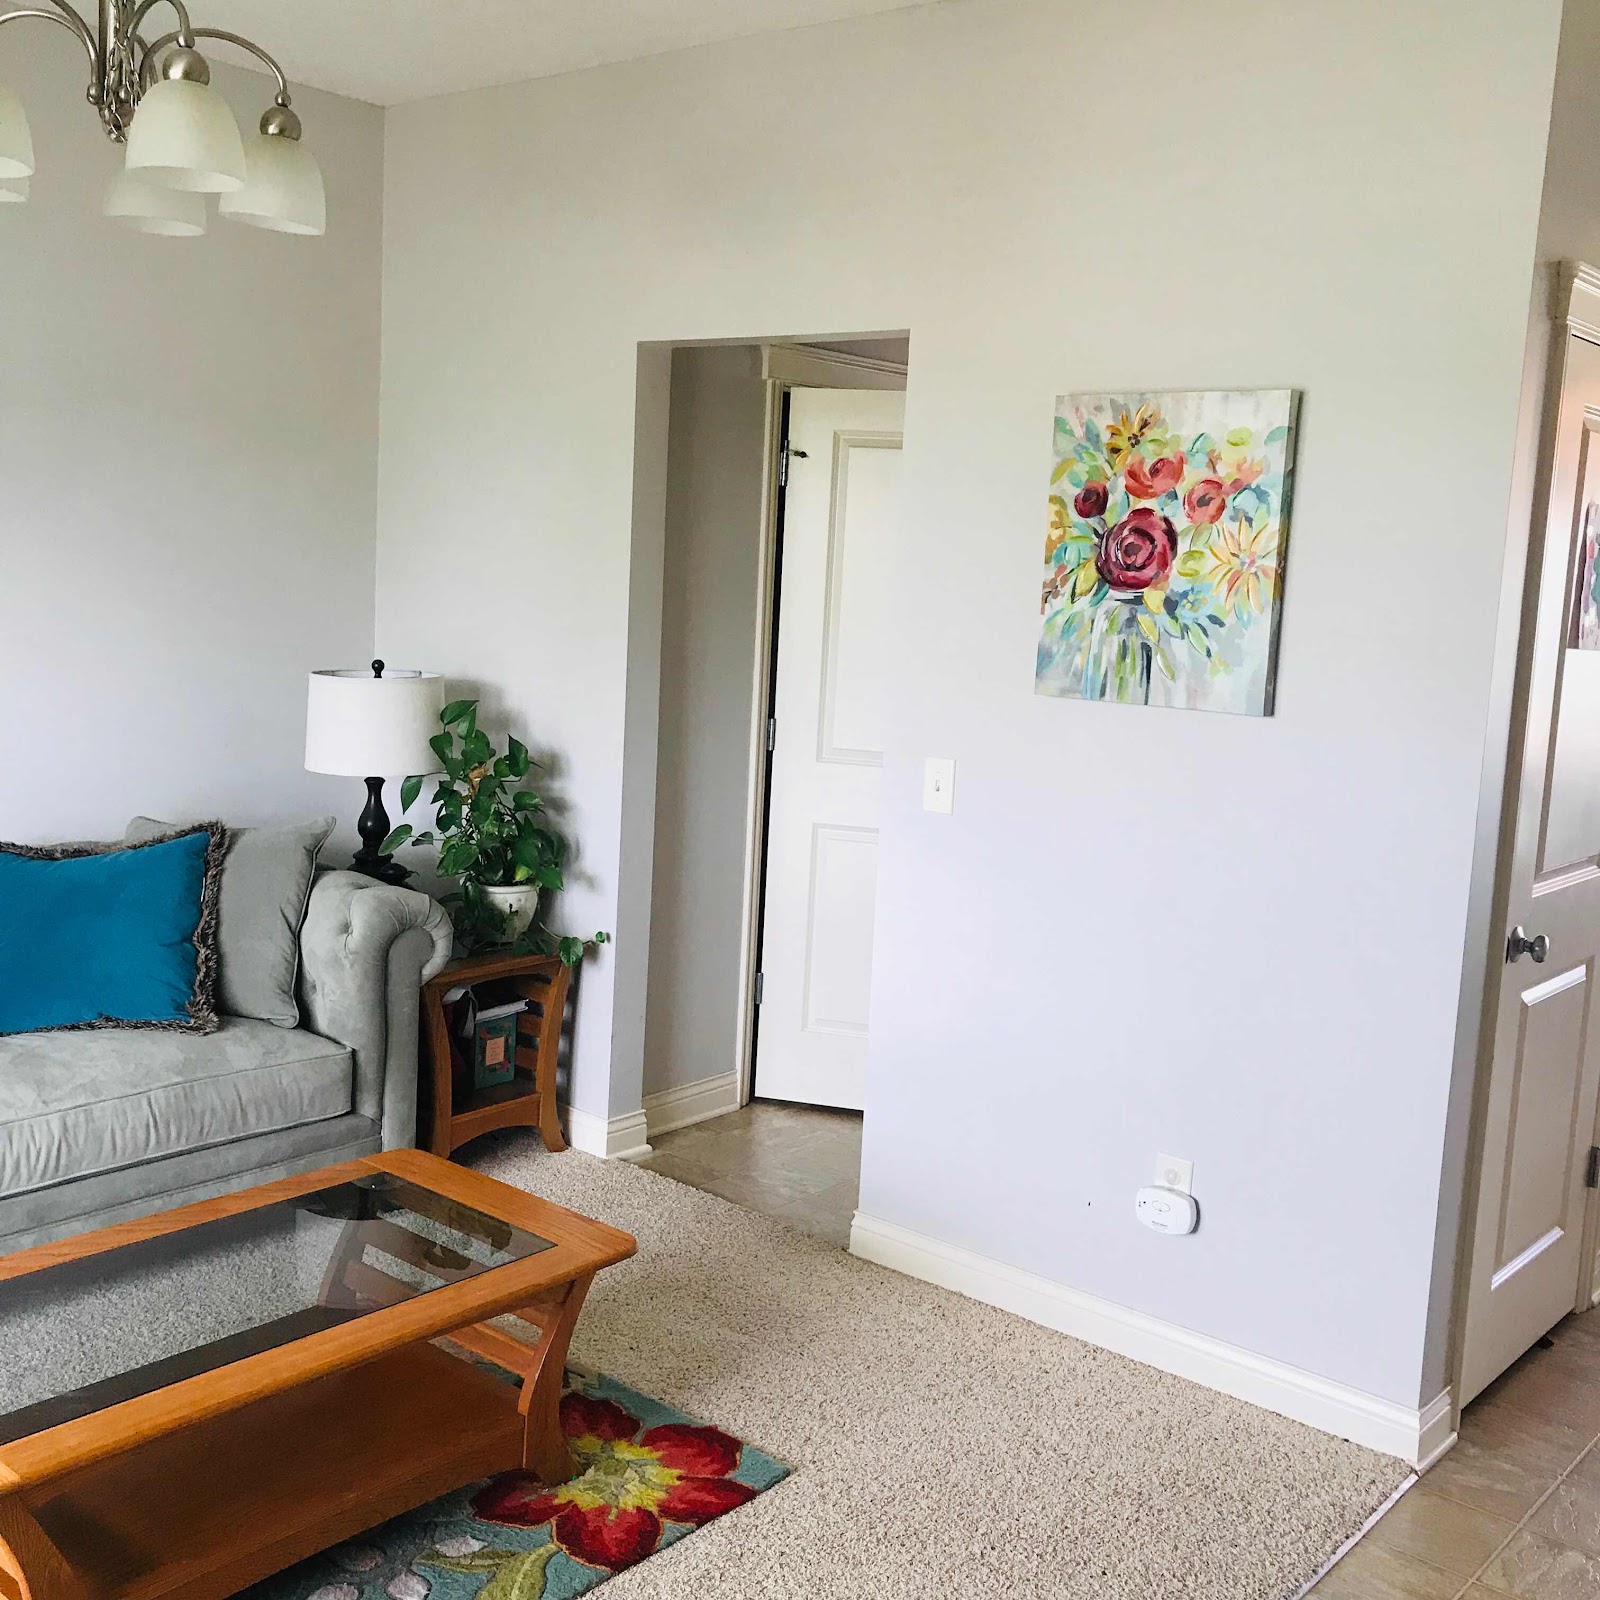
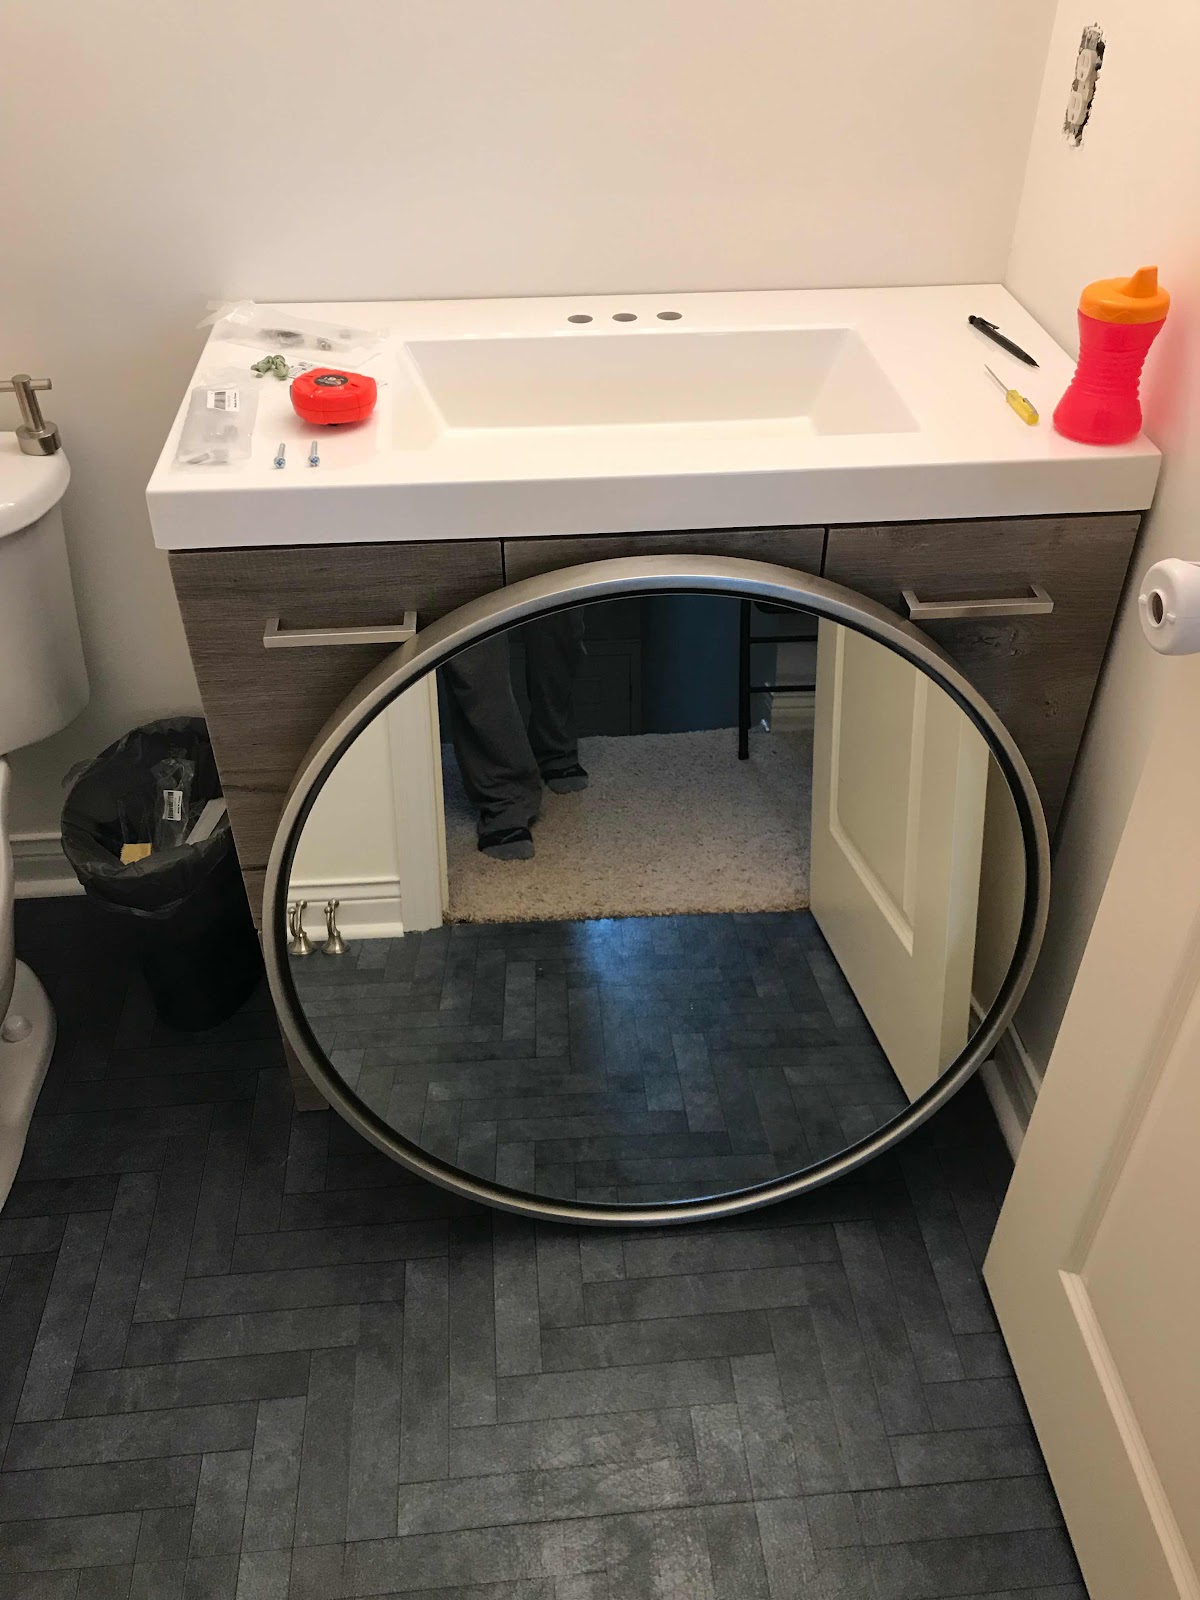
-We purchased a new home in Michigan SIGHT UNSEEN (because I am nuts, apparently). I took this photo as we stood outside our new home for the first time just after closing on it. Again, the Lord has been faithful and provided a home that is all I've ever wanted and dreamed of. I cannot wait to make this place "ours", and we hope to stay here for the long haul!


-Victoria will be 6 next month and has about a month or so left of her Kindergarten curriculum. It took a bit longer than expected because of all the travel we had to do for her airway orthodontics + the move, but overall I am so happy with how our year has gone with the curriculum we chose. Speaking of her airway orthodontics, she is nearly done with her treatment, and I have seen a huge difference in her sleeping, attentiveness, and breathing. The doctor warned me her brain would probably go through a huge growth spurt now that it was getting adequate oxygen, and he was right! She has grown SO much this year!

-Charlotte and Analisa are 3.5 year old, and just recently I am feeling like I can let my guard down a bit with them. For so long it has been so hard to do much of anything due to our "twinadoes" running in opposite directions, but just recently I am feeling more comfortable and confident with their listening skills. They can often be found playing in "twin land" together, and it is so fun to see the bond they have together and with Victoria. They are also starting to become my little "helpers", and Charlotte in particular is always asking to help me with just about everything.
Analisa and Charlotte

-Alexander is 16 months and in what I call the "Sprinkly cheese age". This term came from a friend whose son found a 2 pound bag of shredded cheese at this age, and proceeded to drag it around the house, sprinkling cheese everywhere he went. Alexander is BUSY! He climbs, runs, digs, splashes, throws, etc! I feel like I take him off the kitchen table about 40 times per day (Charlotte used to do the same thing) and say the word "no" quite a bit, but he is also starting to talk, giggles all the time, and is the main focus of his sisters' adoration (they thank the Lord for their "Alexander with the sweet smile" every night).

I have missed blogging here, and I plan to do more of it! If you haven't already, join me on Instagram @mycornerofjoy! I will be sharing more frequently

Wednesday, July 10, 2019

Our New Homeschool Space

My house has been a bit of a puzzle to work out since we moved here. It can be tough moving from one house to another, almost like trying to fit a square peg into a round hole. Nothing fits together the way it used to. 

My current home has some things we love about it: huge bedroom closets, tall ceilings, and a large living room.

But two things have been driving me nuts about it:
-The lack of closets and storage on the main floor. Sure there are closets galore upstairs, but other than the coat closet, there are no other storage places on the main level. This has made storing things like play-doh, craft supplies, coloring supplies, and homeschool items a bit tough unless I want to be running up and down the stairs all day (which is an option, but certainly not ideal).

-There is a weird room in the front of the house. As soon as you walk into the house, there is a small room that I believe was intended to be a dining room, but we used as a sort of small sitting area until now.

This is what that front room looked like when we moved in (even they didn’t know what to do with it):

We moved in, repainted it, and used it as a small living room: 


I enjoyed it for a morning coffee, but it was mostly ignored. 

As for all the things I was struggling to store, I’d tried so many different ways of organizing, storage pieces, etc., and nothing seemed to work well. I finally sat down and put together a plan. What I needed versus what I had.

I realized I needed some sort of large storage cabinet to store the items that were floating around my downstairs, and preferably something with drawers so it wasn’t all open storage (I had a cube-style storage shelf I tried that I found hard to keep organized). I found my ideal shelving at IKEA, but decided I didn’t want to spend $1,000. 


Sooooooo I decided to transform that front room into a craft/homeschool space on the cheap. 

Here are some “before” photos:


I started looking for a shelving/storage unit that would work for storage in this room. I found this beauty on Facebook for $40

My husband was not thrilled with the purchase. He thought it was not even worth what we paid for it, but I promised him I had plans for it. 

Over the course of several weeks I slowly (slloooooooooowwwwwwwwly) got the unit painted. I used a one-step chalk paint that wouldn’t require me to prime or sand. I did clean it well with a deglosser. In hindsight I wish I had primed it, because it took more paint than I would have preferred to cover up the dark wood.


All things considered, the paint worked well, and adhered well without sanding or priming. I put on two layers of polyacrylic to protect it.

Then I ordered some hardware for $23 total from
Wayfair. I purchased something that would cover up the holes that were used as drawer pulls before. 


And in the end, after a total investment of about $100, this is what I had. 

It is still not the $1,000 IKEA unit, but I’ve been able to store all of our homeschool stuff, preschool crafts and projects for the twins, educational games, and coloring and craft supplies. I already had that small yellow shelf where I am keeping our printer and some other office/craft items. 


I purchased some new curtains 2nd hand on Facebook marketplace 

And notice the light in the middle of the room with no glass shades? If you follow my Instagram (send me a follow request @mycornerofjoy), you may have seen that I purchased that new light fixture at the Habitat for Humanity REstore for $15. It had these shades on it, and I considered replacing them for a bit, but decided to just keep them as-is....

Until my husband accidentally dropped the old light fixture onto this new light fixture and broke all of the glass on both (Ahhh!). 

So my $15 light fixture became a $50 light fixture after I ordered new glass shades for it. I’m happy how it turned out though!

After going back and forth, we decided to use a table and chairs we already have that was in our basement. It needs to be refinished, which I don’t have much time for right now, but eventually I will get to it. 

We were close to donating this dining set, but I was having a hard time parting with it because that table has 3 leaves! It will be perfect for our family as it grows. Someday I may purchase some new chairs to go with it, but for now we decided to just go with it how it is in this space. 

So here it is! Our new front room/homeschool space!


This room just goes to show: it doesn’t take much money to make a big difference! I spent only $165 total making this room function and look better, including a new light fixture. Sometimes it just takes figuring out how to make something work that isn’t ideal, or using nooks and crannies of time in your day to transform an ugly shelving unit into what you want.

I have already seen a reduction in clutter in other areas of the house, and I’m so happy this front room is finally getting regular use. My girls spend most of their day in this room now playing, coloring, and creating. I’m excited to begin teaching kindergarten this fall in such a bright and cheerful space. 

Thursday, June 13, 2019

Our $700 bathroom renovation

Our current home was built in 2007, so it isn’t old by any means, but builder grade is builder grade, old or new. Most of our home is generic builder grade that just isn’t doing anything to help the value of the house. Since we hope to be able to sell this home for a profit someday, we are slowly updating the areas of the home that show the most builder-grade drab. 

We have started with our hall bathroom, which is mostly used by our kids and guests. I set a budget of $700, and my husband thought I was a bit nuts to think we could do it for so little. 

But we did!

I also attempted to do something a little different this time. I’m getting ahead of myself though. 

Here is the before:


We decided to keep the shower as-is, since it is a plain white insert in good condition. Since we were hoping to keep the update less than $700, we needed to keep things simple.


One simple change you can make to instantly update your shower is replace the shower head! You can get nice new shower heads for as low as $20, and they require no skill to install. I had purchased 2 new shower heads when we moved in, and my husband accidentally installed the wrong one in this bathroom. So my kids ended up with the spa, rain-shower one in this bathroom! 

First came demolition, which always takes longer than you think it will. Luckily our kids’ play area is right outside this bathroom, so they played while I kept them out of the bathroom and helped my husband, who did most of the demolition. 


One thing I do to make sure I can renovate a room on such a tight budget is stockpile months ahead of time. I am always on the lookout for a good deal on something I like for a room, and once I’ve found all the pieces for the right price, that’s when we start the project. 

The only thing I paid full price for in this bathroom was the flooring. In past renovations we have tiled the bathroom floor and we’ve also installed vinyl planks. I liked the vinyl planks SO much more (softer and warmer under foot), and it takes so much less time and labor, so we decided to use it again. 

This time I purchased a vinyl tile from Wayfair in a dark gray. I was surprised that it was much more blue-toned than it showed on the website, and I worried it wouldn’t match the vanity I had purchased. We decided to use it anyway, but I would have preferred it to be the color displayed on the website. 

Turns out I’m not the only one who complained about the color, because most people reviewed the material well and took a star off their review for the color.

This flooring went in SO quickly. Literally just a couple hours. 


The next thing to do was repair the drywall and paint. I’ve tried renovating and painting last, but it created so much dust and was hard to get behind all the fixtures.

Because of the blue tones in the floor and the wood tones in the vanity, I decided to paint this room white. The old yellow paint made this room seem so dark, so I was looking forward to brightening it up. 

We chose Benjamin Moore Simply White. It really is a perfect white, not too stark and not too yellow. 


I also decided to paint the trim, which is a yellow-y white in the whole house. It was a shock to see the difference in the old trim color (the door color in this photo) and the new trim color (Benjamin Moore Decorator’s White). Looks like I have a whole
house of trim to paint now! I used Benjamin Moore Advanced paint for the trim and really liked using it. I also like the Behr version of this type of paint (urethane alkyd semi gloss enamel).


Next my husband installed the new vanity, which I purchased new on Facebook marketplace for $125. It is not the most amazing quality vanity, but it is definitely an improvement over what was there. It is also ever so slightly taller and 3 inches thinner, making the bathroom appear slightly larger due to more floor space. We also reused the toilet, which was in fine condition. 

I am picky about faucets. I’ve learned the hard way that brand matters with faucets, so I only really purchase Kohler or Delta faucets now. I purchased the Delta faucet for this bathroom for $39 new on eBay.

I also purchase new brushed nickel handles for the vanity (the ones it came with were chrome). To save money we kept the same toilet paper holder and towel bars. It would have been nice to replace them, but they were fine and the metals matched, so we kept them. 

The light fixture was a brand new, in the box purchase from a local online auction for $13. It wasn’t my #1 choice for this room, but it actually turned out great in person, and the price couldn’t be beat.


I really wanted a round mirror for this space, but finding one the right size and color for less than several hundred dollars proved to be a challenge. I finally found this one on amazon warehouse deals for $90. It has a small scratch on the frame that is barely noticeable.


(And clearly sippie cups are important renovation tools) 

The only other thing we purchased was some artwork from Etsy to add a little color. This is how it turned out in the end:

And as a reminder, this was before:


Before:


You might be wondering where the $700 went. It’s funny how the little things add up. Just the paint cost about $100 total. The vanity was $125, mirror $90, flooring $150, faucet $39. The rest was odds and ends like caulk, sand paper, hardware, lumber to level the floor, etc. 

You may also be wondering how on earth we got all this done with 4 children under 5. It isn’t easy, but I’ve learned to stop waiting for large chunks of time. My husband and I finish projects like these in 15-30 minute spurts. The painting took the longest and I did it at night after the kids went to bed for two nights. I glued on the backsplash and caulked it in 10 minutes while my kids finished lunch one day. My husband came from work and spent 20 minutes hanging the light fixture before jumping in with what we were doing. It took a month total of snippets of time here and there to be 100% complete. 

We are currently in the process of renovating our master bathroom. We are a bit more focused on the style of that room, and the budget is significantly bigger (we are trying for $1500).

More to come!

Tuesday, June 4, 2019

Our Pre-K Homeschool

My oldest daughter's birthday is in June, and she will be 5 this year. Last year I went to my very first homeschool conference looking for direction because my daughter had begun to demand to "do school" every day.

This might have been every homeschool mom's dream, but for me, with 18-month-old twins and another baby on the way, I was already overwhelmed. I have always ascribed to the idea that children should learn through play as long as possible. I was an exchange student in high school to Finland, and there I saw first-hand how gentle school was in the elementary years, and children are not taught to read until they are about 7 years old. Finnish children also test at the top in the world, so clearly their gentle approach is working. With Victoria's birthday falling in June, I had thought to simply make her "older" in her grade, and start kindergarten with her right after she turns 6. 

Two things changed my mind about that: 
-Victoria loves sitting at a table and doing worksheets and workbooks. She began asking me to teach her how to read, and at 4 years old, I thought she was just too young. Then my husband reminded me that one of the reasons we've wanted to home school is because it allows us to move at our child's individual pace. That means allowing her to go ahead too!

-The 2nd thing that changed my mind wasn't that big of a deal, honestly, but it did help push the decision. Victoria is very tall for her age, which isn't surprising since I am nearly 5'11" and her dad is 6'3". At 4 years old she wears size 6/7 clothes and is often mistaken for a 6 or 7 year old. Even though we plan to homeschool her, she will still involved in things with other children her age, and she is already much taller than most of them. I thought it would be kinder to move her along into school while she is only a bit taller than everyone, rather than wait for that gap to get bigger. 

The problem was, I went to a homeschool conference and received the same advice from nearly everyone: "Read books to her and play"

Which is what I was already doing, and she was already wanting more. Many children have to be coaxed into a school routine when they get to Kindergarten age, but Victoria was roaring and ready. No one seemed to have any idea of how I could gently satisfy her desire to "do school" in a way that was structured enough for my tired pregnant brain. 

Then another amazing blogger who has homeschooled her children, told me about the Rod and Staff preschool books. She said her children all enjoyed them, and they looked just simple enough to appeal to me. 

They have two sets of books, this set is meant for 3-4 year olds, and all 4 books cost only $10 total
I purchased this set to see how Victoria would do, and she finished them all in about a month. I would say they are perfect for a younger 3 year old. 

The 2nd book set they have, which we moved on to, is meant for 4-5 year old, and has been expanded to include 12 books, named sequentially with titles that begin with the letters A-L. (the B book is Bible stories and has an accompanying coloring book that you can use while you teach the other books). 
The entire set costs only $45 and is such a wonderful and enjoyable set of books. Victoria has been loving using them, and I love how simple they are, without a lot of busy-ness to the pages. Each book is full of fun learning activities, but also reinforces great new challenges, like learning to write your name, memorizing your phone number, scissor skills, and logic puzzles. 

We just finished the G book, as we took a bit of time off for Alexander's birth, but we plan to finish the rest of the books and begin an actual Kindergarten curriculum this fall. 

We also began using the Teach Your Child to Read in 100 Easy Lessons book to learn how to read last Fall. 

A few positive notes on this book:
-It is extremely popular and has been used to teach children to read for decades. 
-It is very easy to teach. You as the teacher just literally read the prompts and your child learns how to read. 
-It is very affordable ($16) 

But, a few not-so-positive words on this book:
-This book is very dry. VERY DRY. Every lesson is not very long, but I had to cut most of them in half in order to keep it somewhat enjoyable for my daughter, and she is very good at sitting and doing school work usually. As she got better at reading, we were able to do the full lessons most days. 
-It is not a good program for a child with speech issues. I know this because it was given to me by a friend who purchased it and ended up not being able to use it with her children who have speech issues.
-It works at teaching your child to read, however, it does not teach phonics at all. This bothered me because although my daughter was learning to read, she wasn't learning the why behind anything. 
-It doesn’t teach sight words or blends like you find in most reading curriculum. 
-It is very repetitive, which again, helps them learn to read, but I noticed my daughter was not enjoying her reading lessons at all. 
And ultimately, at this young age, a love of learning is the most important thing to teach, I believe. We made it just past halfway through the book before I abandoned it. We will be starting a phonics book this fall and backtrack a bit to the beginning, reteaching her with an understanding of the "whys" of reading. I was not taught much phonics in school, and it is a lack in my education I hope not to repeat for my children. 

SO what are we using for Kindergarten this fall??? If you are following me on Instagram (send me a follow request, as I had to make it so I approve followers when I noticed all sorts of shady accounts following me), you may have seen my post from this last weekend, when I attended a homeschool conference and got the chance to purchase our kindergarten program from Masterbooks! I will write about this decision and why I finally settled on Masterbooks in my next post.

Any other homeschoolers out there? What has worked for you in the early years? Do you have an eager young learner or a reluctant one? I can already tell one of my twins will be eager to get going and the other may need a little longer.